How to Unblock a Kitchen Sink: A Short Guide

Blocked kitchen sinks are the bane of many homeowners. It can be a stressful experience especially if you’ve never fixed a blocked sink. What’s even worse is that the blocked sink may be very dirty and smelly!
While modern kitchen sinks are designed to be durable and long-lasting, they can clog. This usually happens when there is too much grease in the sink or faulty garbage disposers that have been overworked.
In today’s post, we’re going to guide you with practical tips and techniques to unclog your kitchen sink if things go south.
With a bit of practice as well as some cheap tools, unclogging a kitchen sink is going to take you an hour at most. With our step-by-step instructions, hopefully, you’ll be able to save some money instead of calling the plumber.
Preventing Blocked Kitchen Sinks
Before we move on, it’s important to understand why kitchen sinks clog. In most cases, preventing a kitchen clog from happening is more effective (and cheaper) than fixing it.
The most important step in preventing clogged kitchen sinks is to maintain and clean them. We tend to forget about kitchen sinks all the time when we’re cleaning our houses.
It’s important, however, to clean your kitchen sink constantly as it can clog and build up a nasty odour that can affect the health of the people living in your house.
In general, avoid leaving things such as grease from food or cooking oil, soap scum, as well as food particles such as bones or tea leaves in your kitchen sink; they will clog it sooner or later.
It is very convenient to dispose of oil or fats into the kitchen sink. However, you have to know that when the oil or fat cools down, it will turn into solid which will block your kitchen pipes.
Homeowners who have garbage disposals in their sinks should also take preventive steps to avoid sink clogging. Problem materials such as fruit skin can still get stuck in your sink even when the garbage disposal is running.
Steps to Prevent Blocked Kitchen Sinks

Use a DIY vinegar ice cube wash for your garbage disposal every week
This tried and tested home remedy is an excellent way to prevent your sink from clogging if you have a garbage disposal. It is definitely worth trying this before you start buying cleaning products or use a drain cleaner.
Here are the steps that you need:
- Fill an ice cube tray with vinegar instead of water. You may need to label it to avoid confusing your family members who may think that it is regular ice.
- When the vinegar ice cube is formed, throw the ice cubes into the garbage disposal and turn it on. The ice cubes will scrape the dirt and organic buildup of your kitchen sink easily with the help of the garbage disposal.
Vinegar, in general, is an excellent cleaner for dirt and organic buildups.
Pour Hot Water into the Sinkhole after Every Use
Hot water helps to push the dirt and particles in the sink along the blocked drain. It also helps to remove buildup and residue along the inside of the pipes.
To make it even more effective, use a mixture of baking soda with hot water to clean your kitchen sink. Cleaning soda, like vinegar, is an excellent multi-purpose cleaning material.
Use a Sink Strainer or Mesh Surface
Sink strainers will trap particles or dirt before the dirty water runs down the drain. This is probably the simplest and most effective thing that you can do to maintain clog-free drains.
Here’s how a sink strainer looks like (it comes in different shapes and designs):

You can purchase a high-quality kitchen strainer from The Build Mat.
Don’t Throw Everything into the Sink
Another common mistake that homeowners do is throw literally everything into the sink. As a rule of thumb, only dispose of things that are liquid or easily processed by the garbage disposal into the sink.
Things like animal bones, fruit peels, or coffee grounds are best disposed of in a trashcan. By disposing these things into the sink, you are slowly building up dirt and particles in your kitchen sink drain.
Remember, your sink is not a trash can.
So, if you’ve got a clogged kitchen sink - what do you do now?
Unblocking a Kitchen Sink without Removing the Sink Trap

The sink trap is the “U-shaped” part of the sink where water and dirt are usually trapped. In some cases, you may need to remove and clean the part completely to help unblock the sink.
Fortunately, there are several remedies that you can try before you move on to that part.
Use a Plunger
The first reaction when you have a sink clog is to try and call an emergency plumber, but before that happens go to hardware store and get a plunger first.
Before you use a plunger, run hot water or warm water (add baking powder or bakings oda if you have it) through the clogged sink, try not to use boiling water as it can damage the drain pipes if done too many times.
Then, fill your kitchen sink with water partially. If the sink is already clogged and has water in it, you don’t have to do this part. If there is too much water in the sink, however, you will need to clear it as it will spill everywhere and make a mess while you’re unclogging the sink.
You need water in your kitchen sink for the suction from the plunger to work. Without water, there won’t be enough pressure for the plunger to remove buildup from the sink clogged drain.
Before you use the plunger, make sure that it is in good condition. If there are cracks or if the plunger is in poor shape, you won’t get a strong suction which means that the unclogging process will be less effective.
Once you’re ready to go, make sure that the plunger completely covers the drain of your sink. Then, carefully perform several quick and powerful thrusts to unclog your kitchen sink. Do this until your kitchen sink is unclogged.
Note: If you have a double-sided sink, cover the other unclogged sink with a dish cloth or something similar. This improves the effectiveness of the pressure from the plunger drastically.
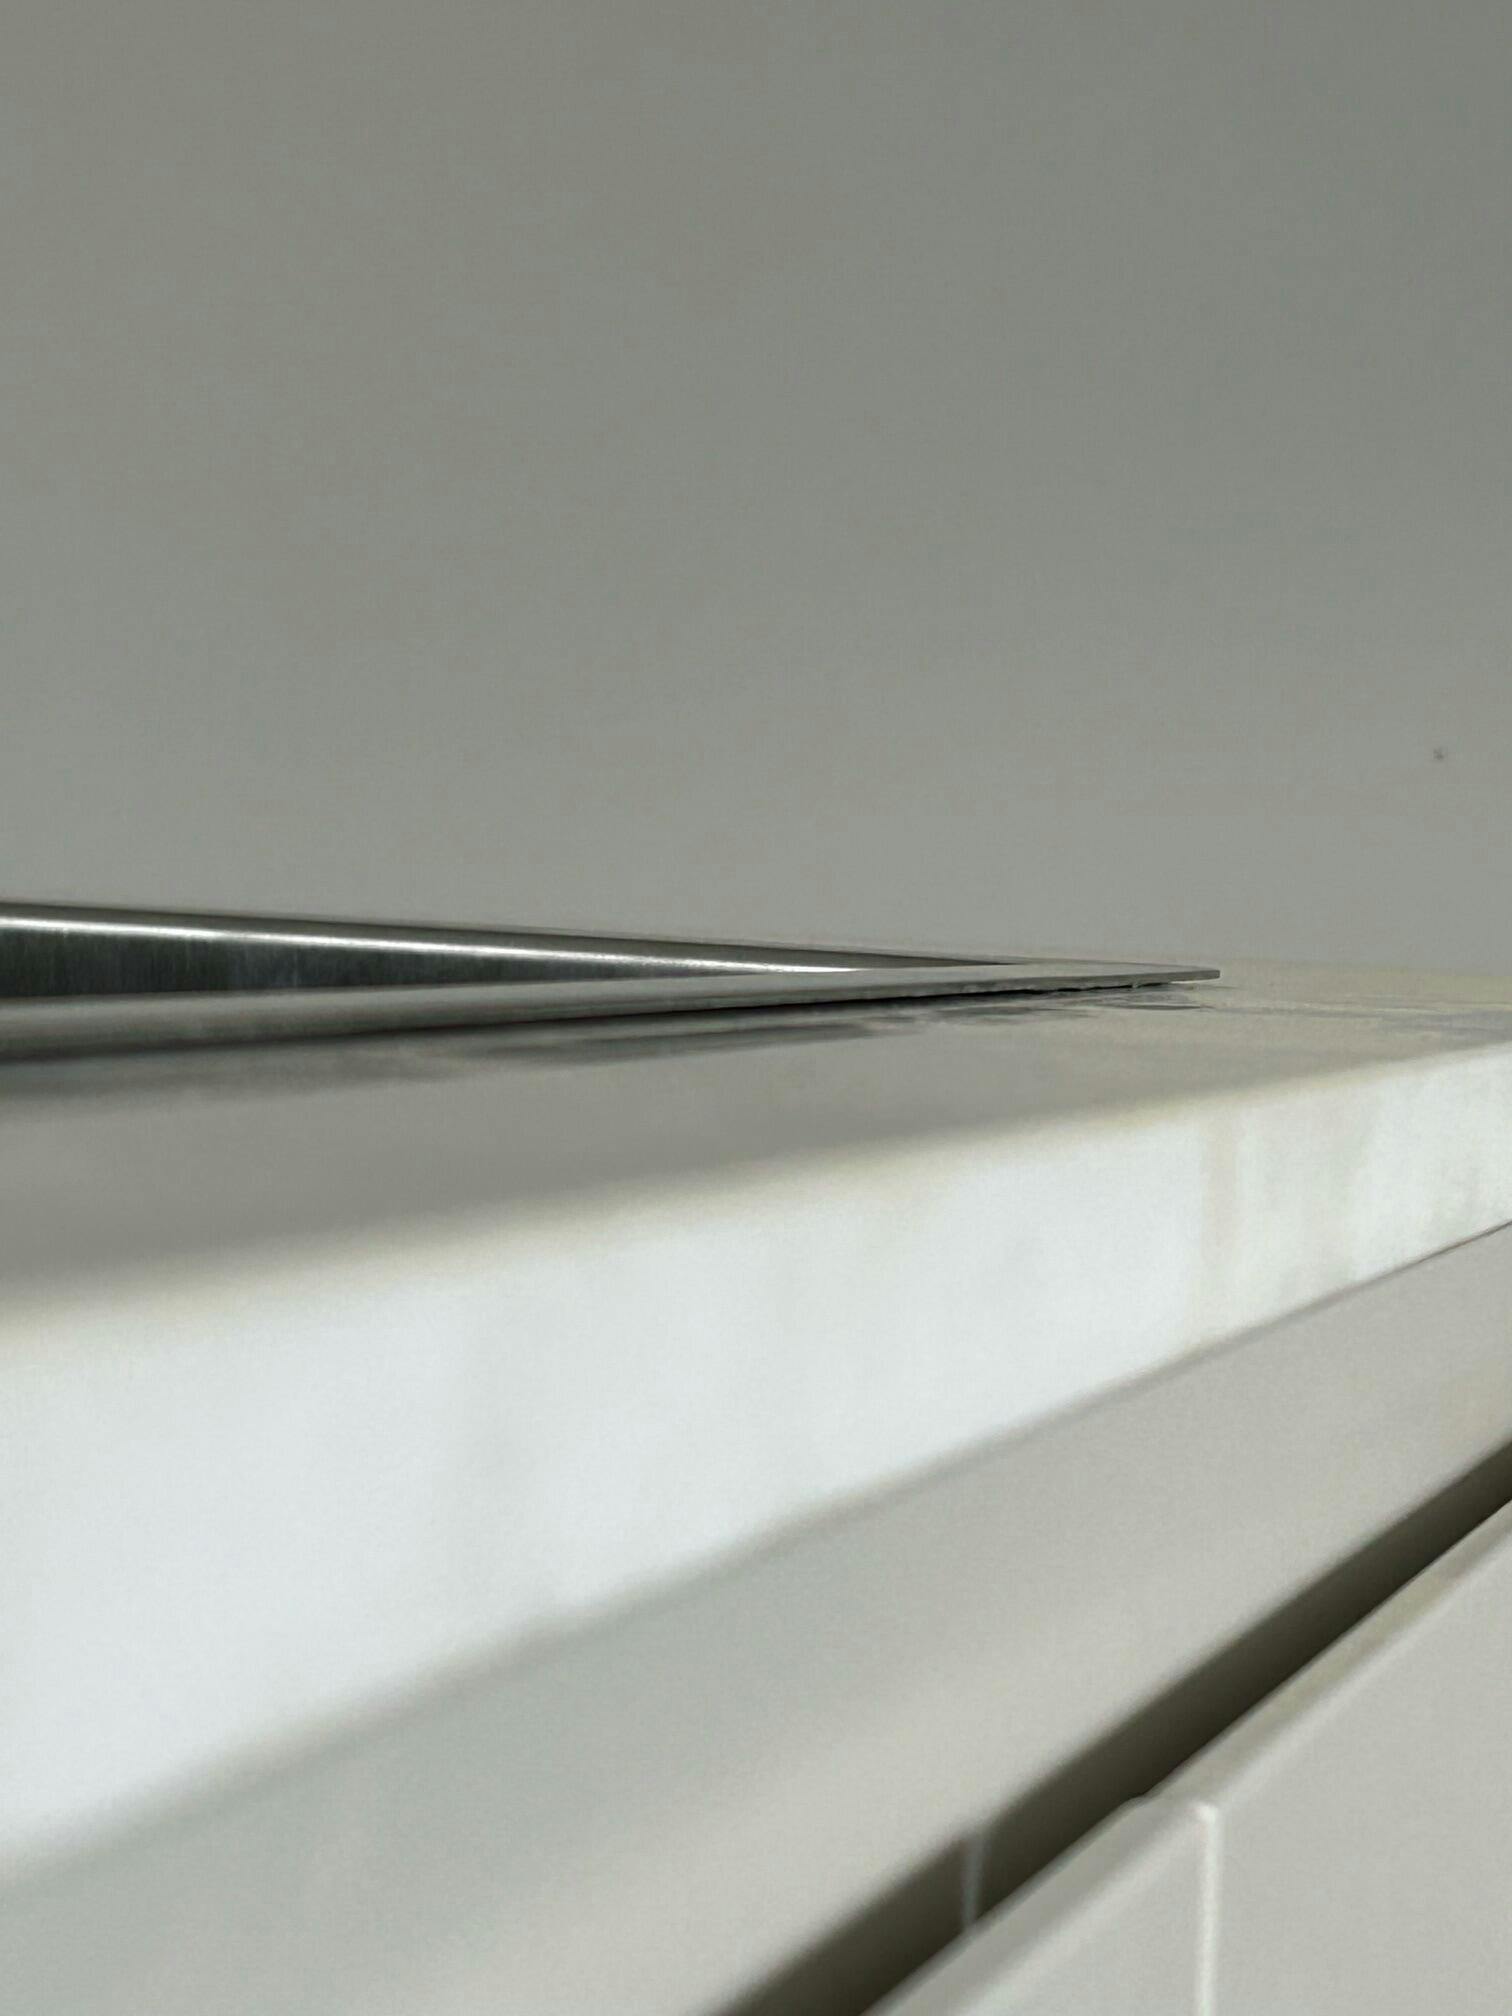
Use a Drain Snake
A drain snake is a long metal coil that removes blockages from your sink drains easily. It carries the name thanks to its appearance that resembles the shape of a snake.
Drain snakes come in many varieties; the most commonly used ones are a plumber’s snake or a hair coil.
Regardless of the tool that you’re using, always remember to be patient and don’t apply too much unnecessary force as it may damage your kitchen sink even more.
To use a drain snake, have these materials by your side first before you start working:
- A drain snake (it can any of the variations mentioned above)
- A glove to cover your hands
- A pail to discard of debris and dirt removed from the sink
- Paper towels or spare towels to clean the area after the work is done
Now, you will need to feed the cable of the drain snake into the kitchen sink. Once it’s partially in, use a careful twisting motion along the handle of the drain snake. This helps to move the cable further down the drain as well as removing buildup and particles along the way.
When you encounter the blockage, you will feel a slight resistance against your twisting motion. Keep doing the twisting motion until there is a considerable amount of resistance. Then, slowly pull out the cable; the blockage should have been removed along with the drain snake.
Pour hot water down the sink drain as a final measure to remove any buildup that may have been loosened by the drain snake. If you don't have a drain snake and you're desperate you can try to improvise and use a wire coat hanger and making a small U-bend, but it's not ideal.
Unblocking a Kitchen Sink by Removing the Sink Trap
If the previous steps were not helpful in fixing your clogged kitchen sink, it may be time to get your hands dirty and fix the sink trap manually.
If you are inexperienced or uncomfortable with removing the sink trap, you can call a plumber to help you. If you are a hands-on person and not afraid to clean it yourself, follow these simple steps.
Items to Have by Your Side
If you don't have these handy they're available at any local hardware store.
- A bucket to capture dirt and water from the sink trap
- A wrench or plier to remove the sink trap
- Rubber Gloves so you don't get all the gunk and grime on your hands
- Towels or rags to wipe and clean the area
- Brush to clean the pipe
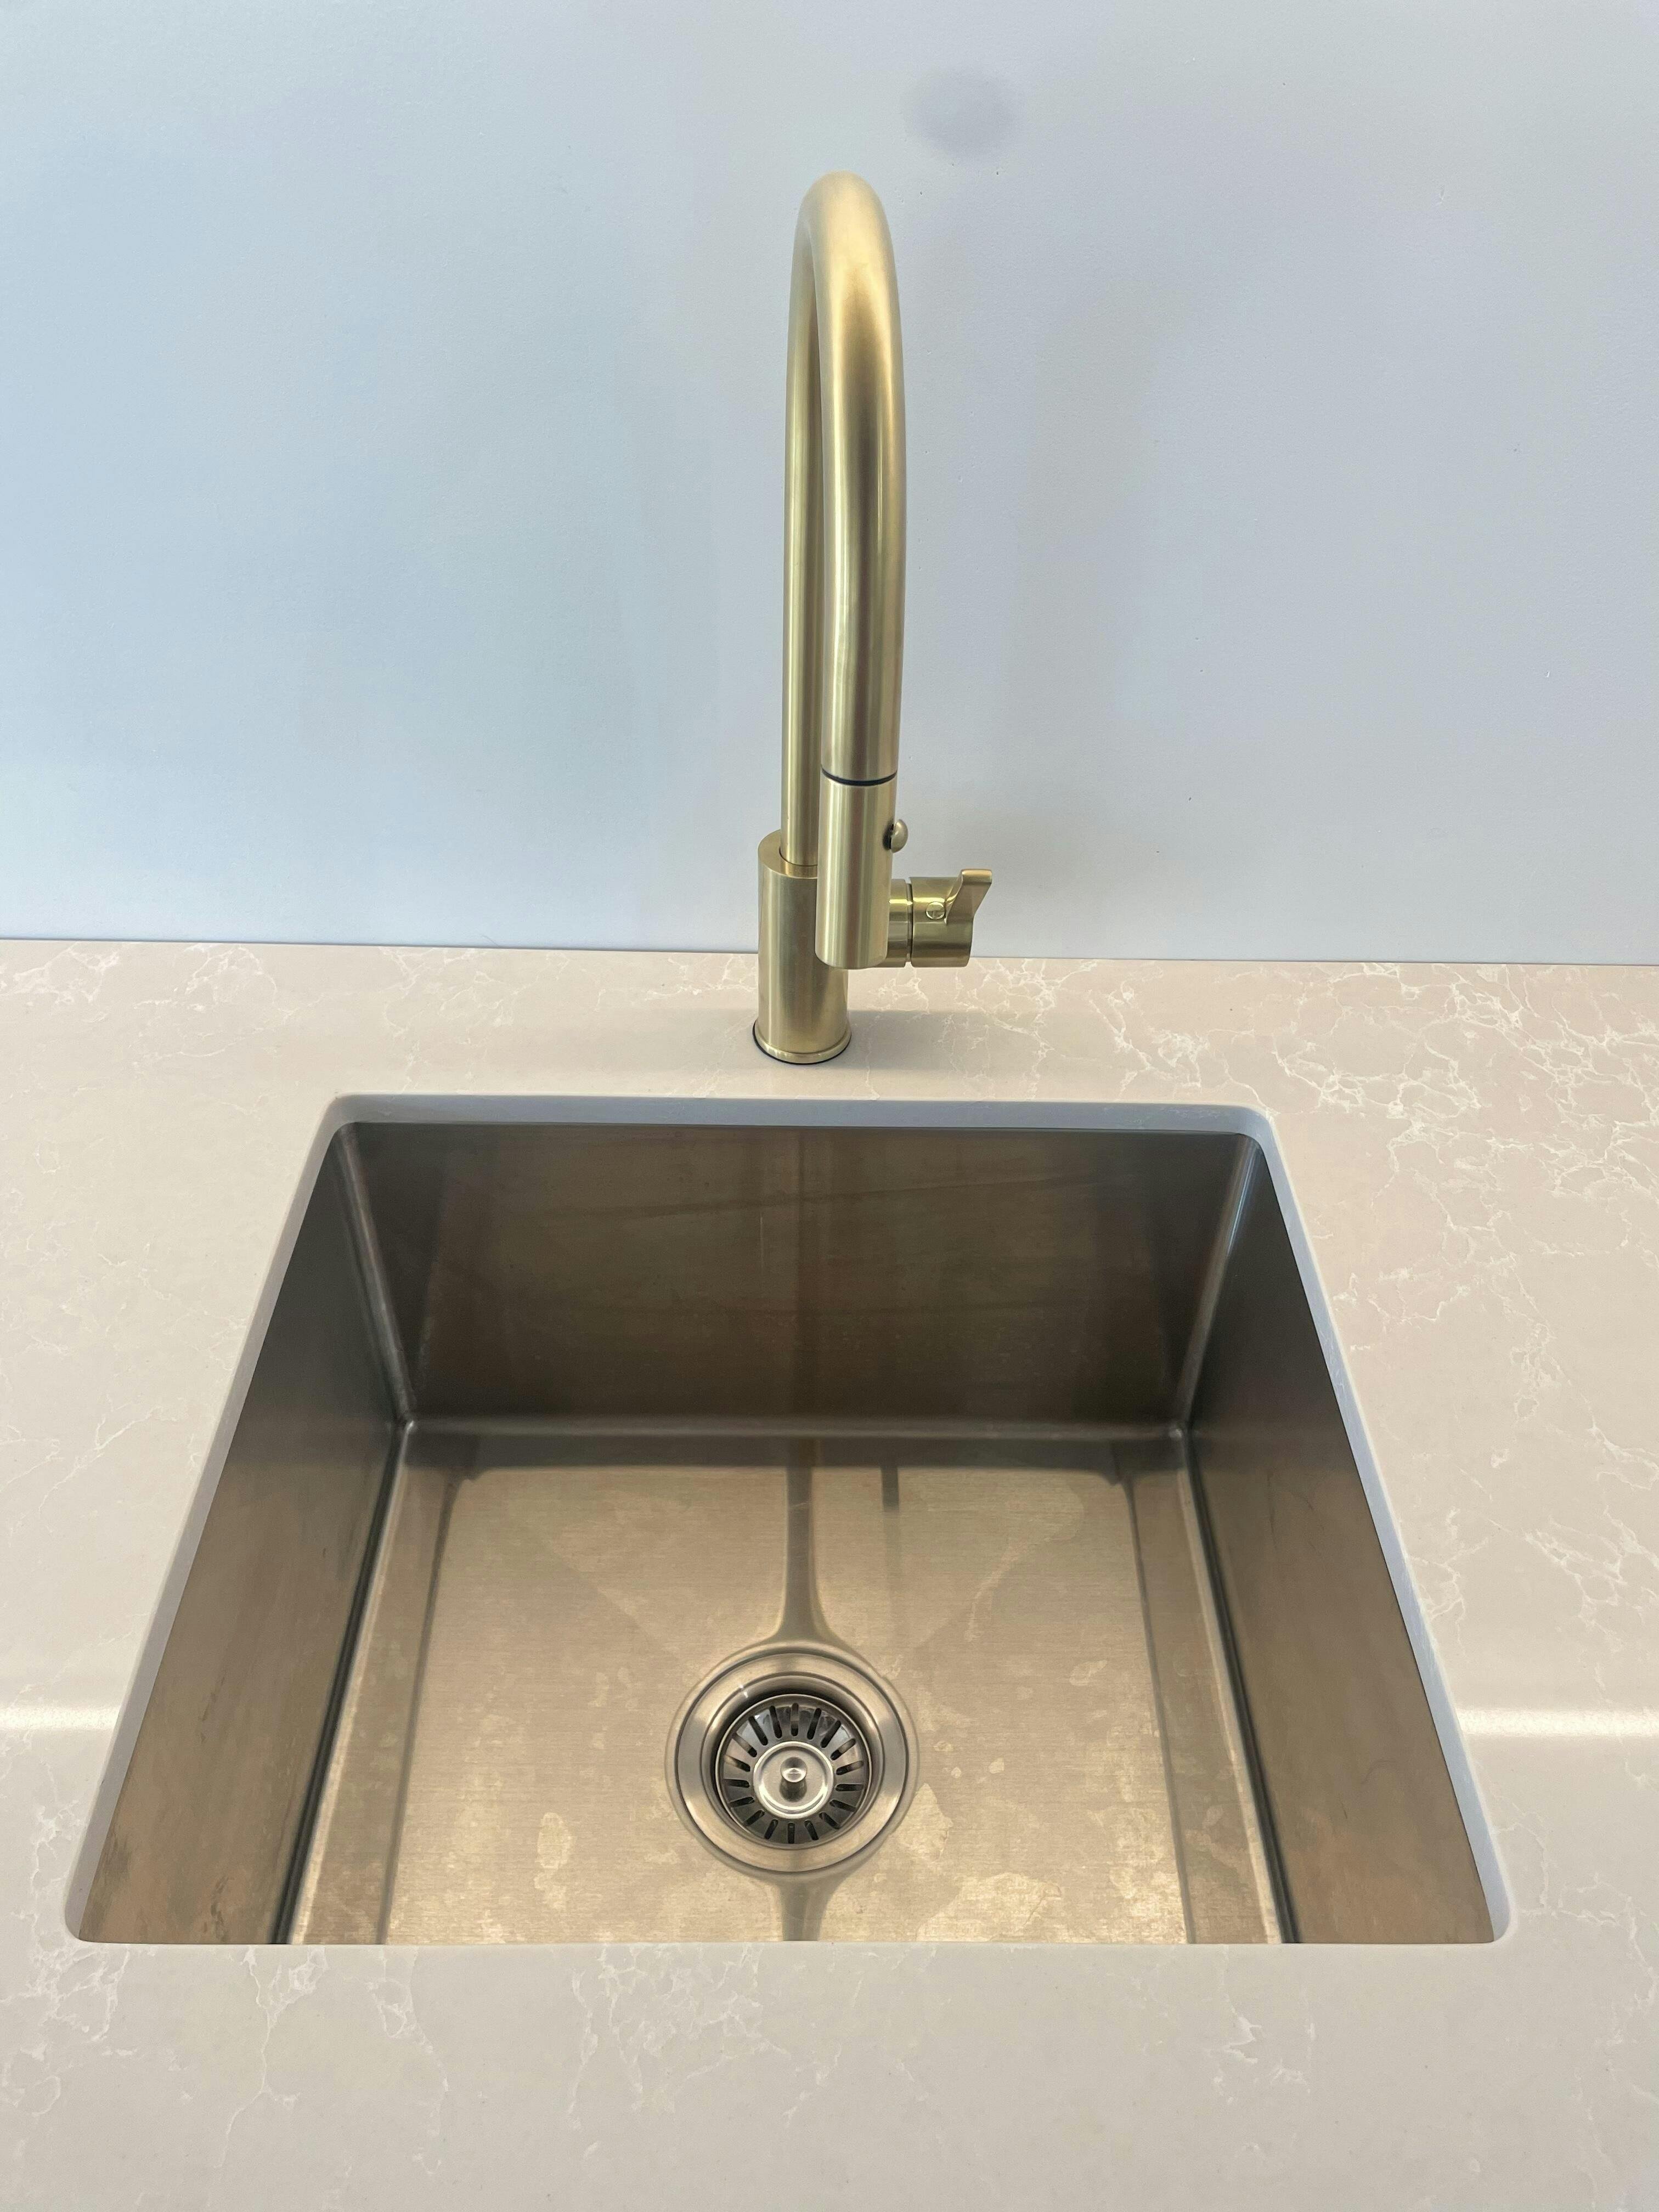
1. Locate Your Kitchen Sink Trap
The arrow pointing to the sink above is where the sink trap is. This is where water is usually trapped as well as being the area that is most likely to be clogged.
2. Place a Bucket under the Sink Trap
When you remove the sink trap, water is going to flow out of the pipe. You will need a bucket to capture the water; otherwise, it’s going to make a dirty mess around the area.
3. Unscrew the Slip Joints of the Sink Trap
The slip joints are the parts that are pointed by the arrows above. The slip nuts are the parts that join the sink trap with the pipes from the wall and from your kitchen sink - think of it as a connector between the two pipes.
To remove the joints, use a wrench or a plier to loosen it. You can do this by hand but you may not have enough force to loosen the joints. You can place a rag or cloth around the joints to prevent scratching from the wrench.
Once the joints are loose enough, you can remove them by hand. Remember to keep the bucket under the trap, water will flow out of the sink especially if it is clogged.
Important note: You may find a rubber O-shaped ring after you remove the trap from the joints. Keep the O-shaped ring and remember its initial position. You will need it later to seal the trap which prevents it from leaking.
4. Clean the Pipe and the Trap with a Rag or Brush
Use a rag, brush, or a cleaning tool to clean the trap and the sink from buildup and trapped dirt. You should also rinse the trap with vinegar or cold water. The trap usually has soap scum and residue on its interior surface as it traps water all the time.
5. Reassemble the Sink Trap to the Pipes
Remember the O-shaped rings that were mentioned earlier; you will need to reassemble it to how it was before. Usually, this is the flow that you need to follow in order to reassemble the sink trap:
Connect the slip joints first -> install the O-shaped rings -> install the sink trap
To reassemble the parts, do the reverse of what you did when you removed it; this means that you need to fit the parts by hand first. Then, use a wrench or a plier to tighten the parts. Your trap might look different depending on if it's an S-Trap or P-Trap.
Remember to never over-tighten the parts. Over-tightening the parts may lead to cracks especially if the sink parts are made of plastic, but still, make sure you do have an airtight seal.
6) Clean the area and you’re done
Once that’s done, your sink should be fully unclogged. Clean the area with a rag or a mop. You may decide to use a lemon wash to clean the area if there is any lingering odour from the sink trap or drain hole.
Some of these tips could work your bathroom sink as well, it's a lot better method than putting in soda crystals or bleach in and hoping that there won't be any chemical reactions if something went down the sink that wasn't meant to.
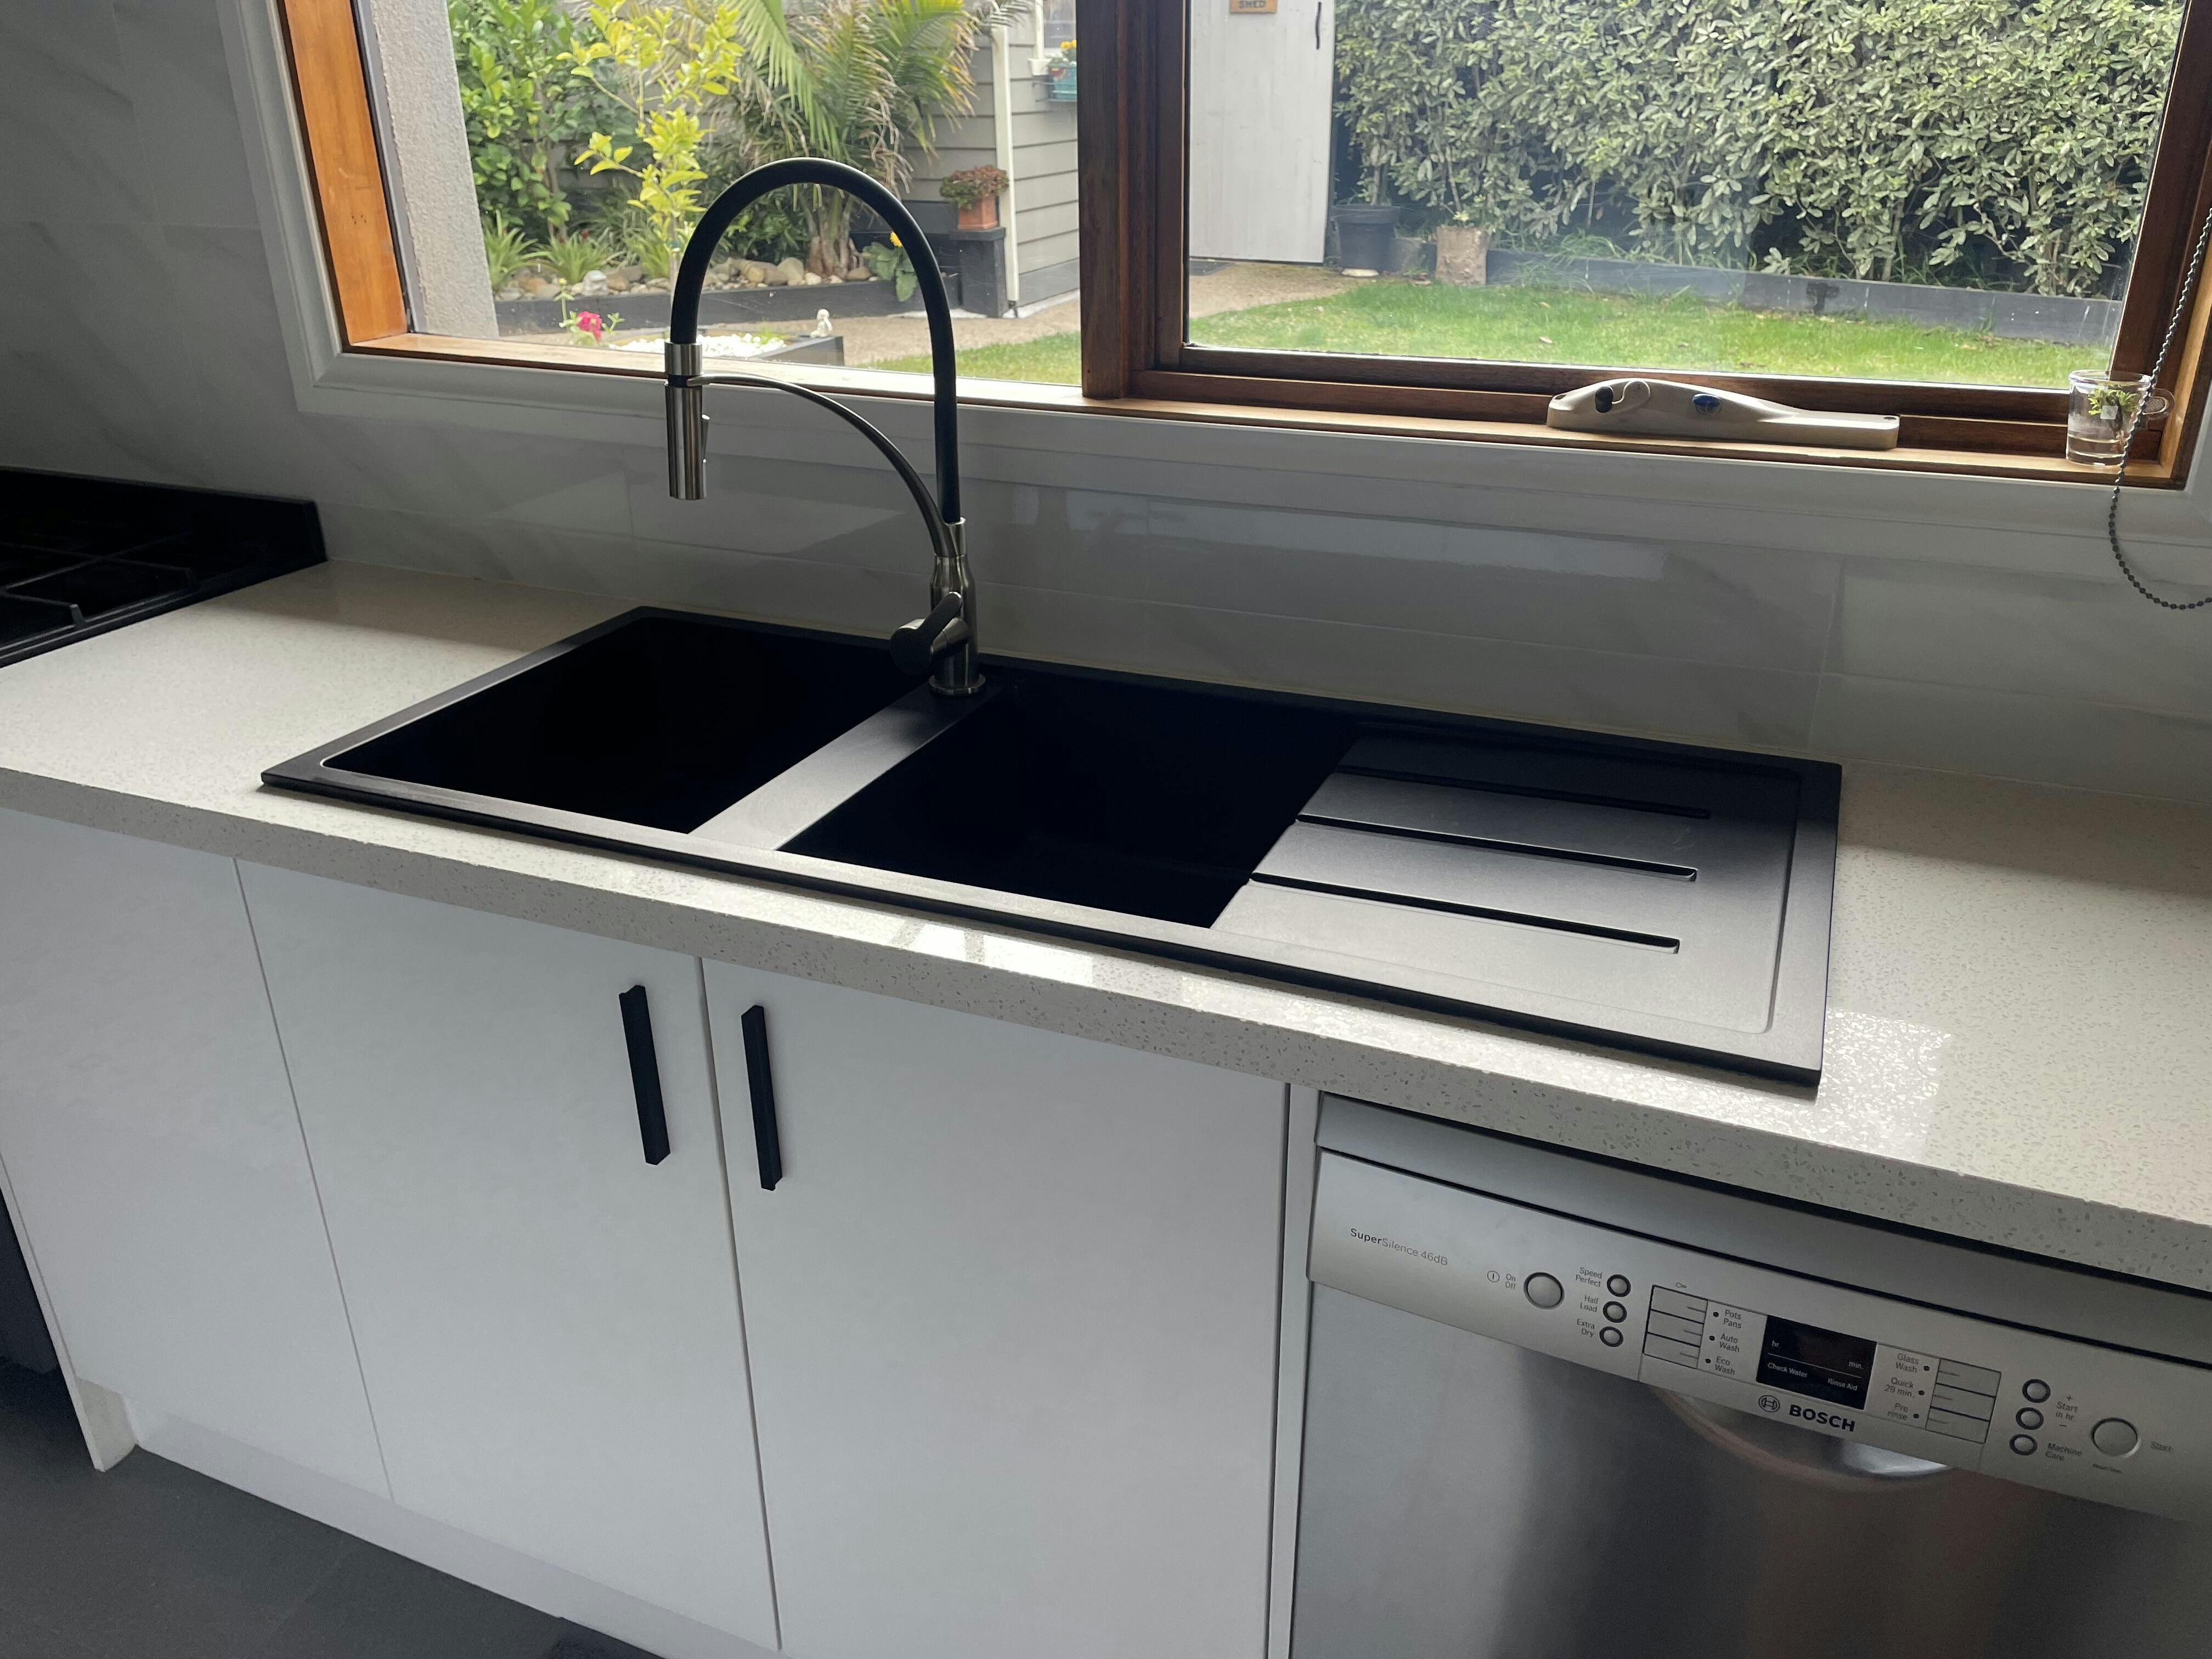
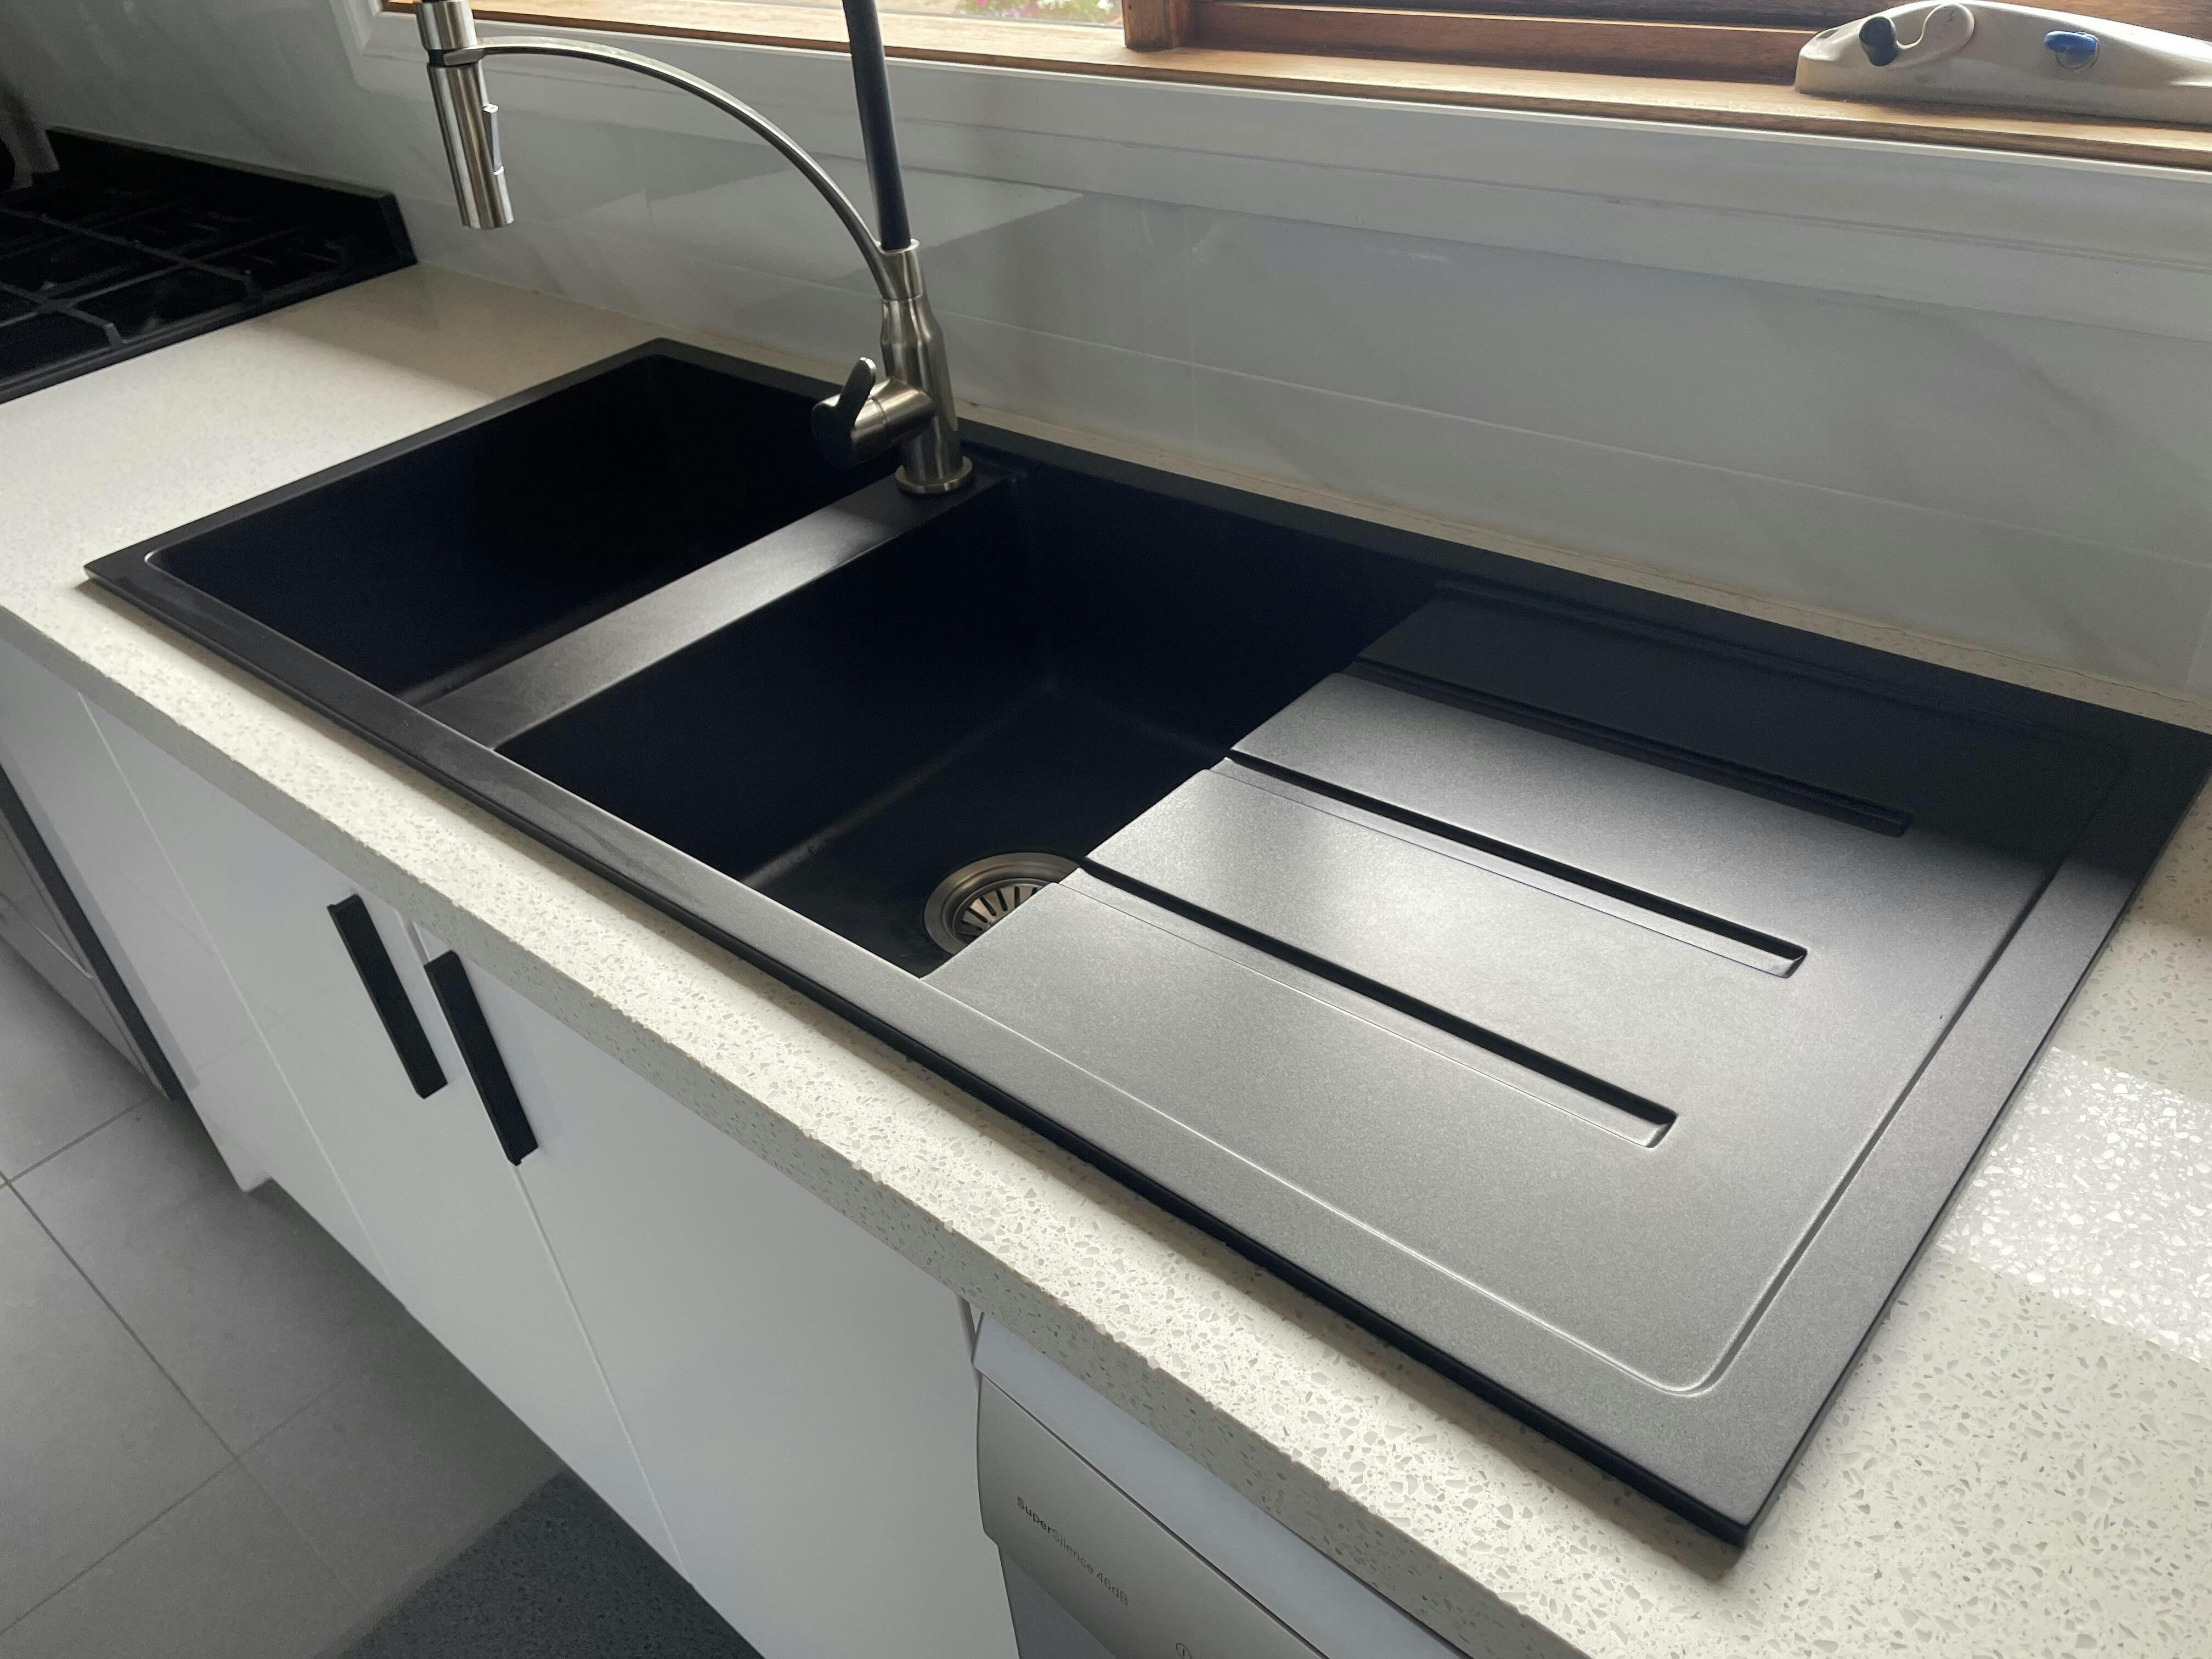
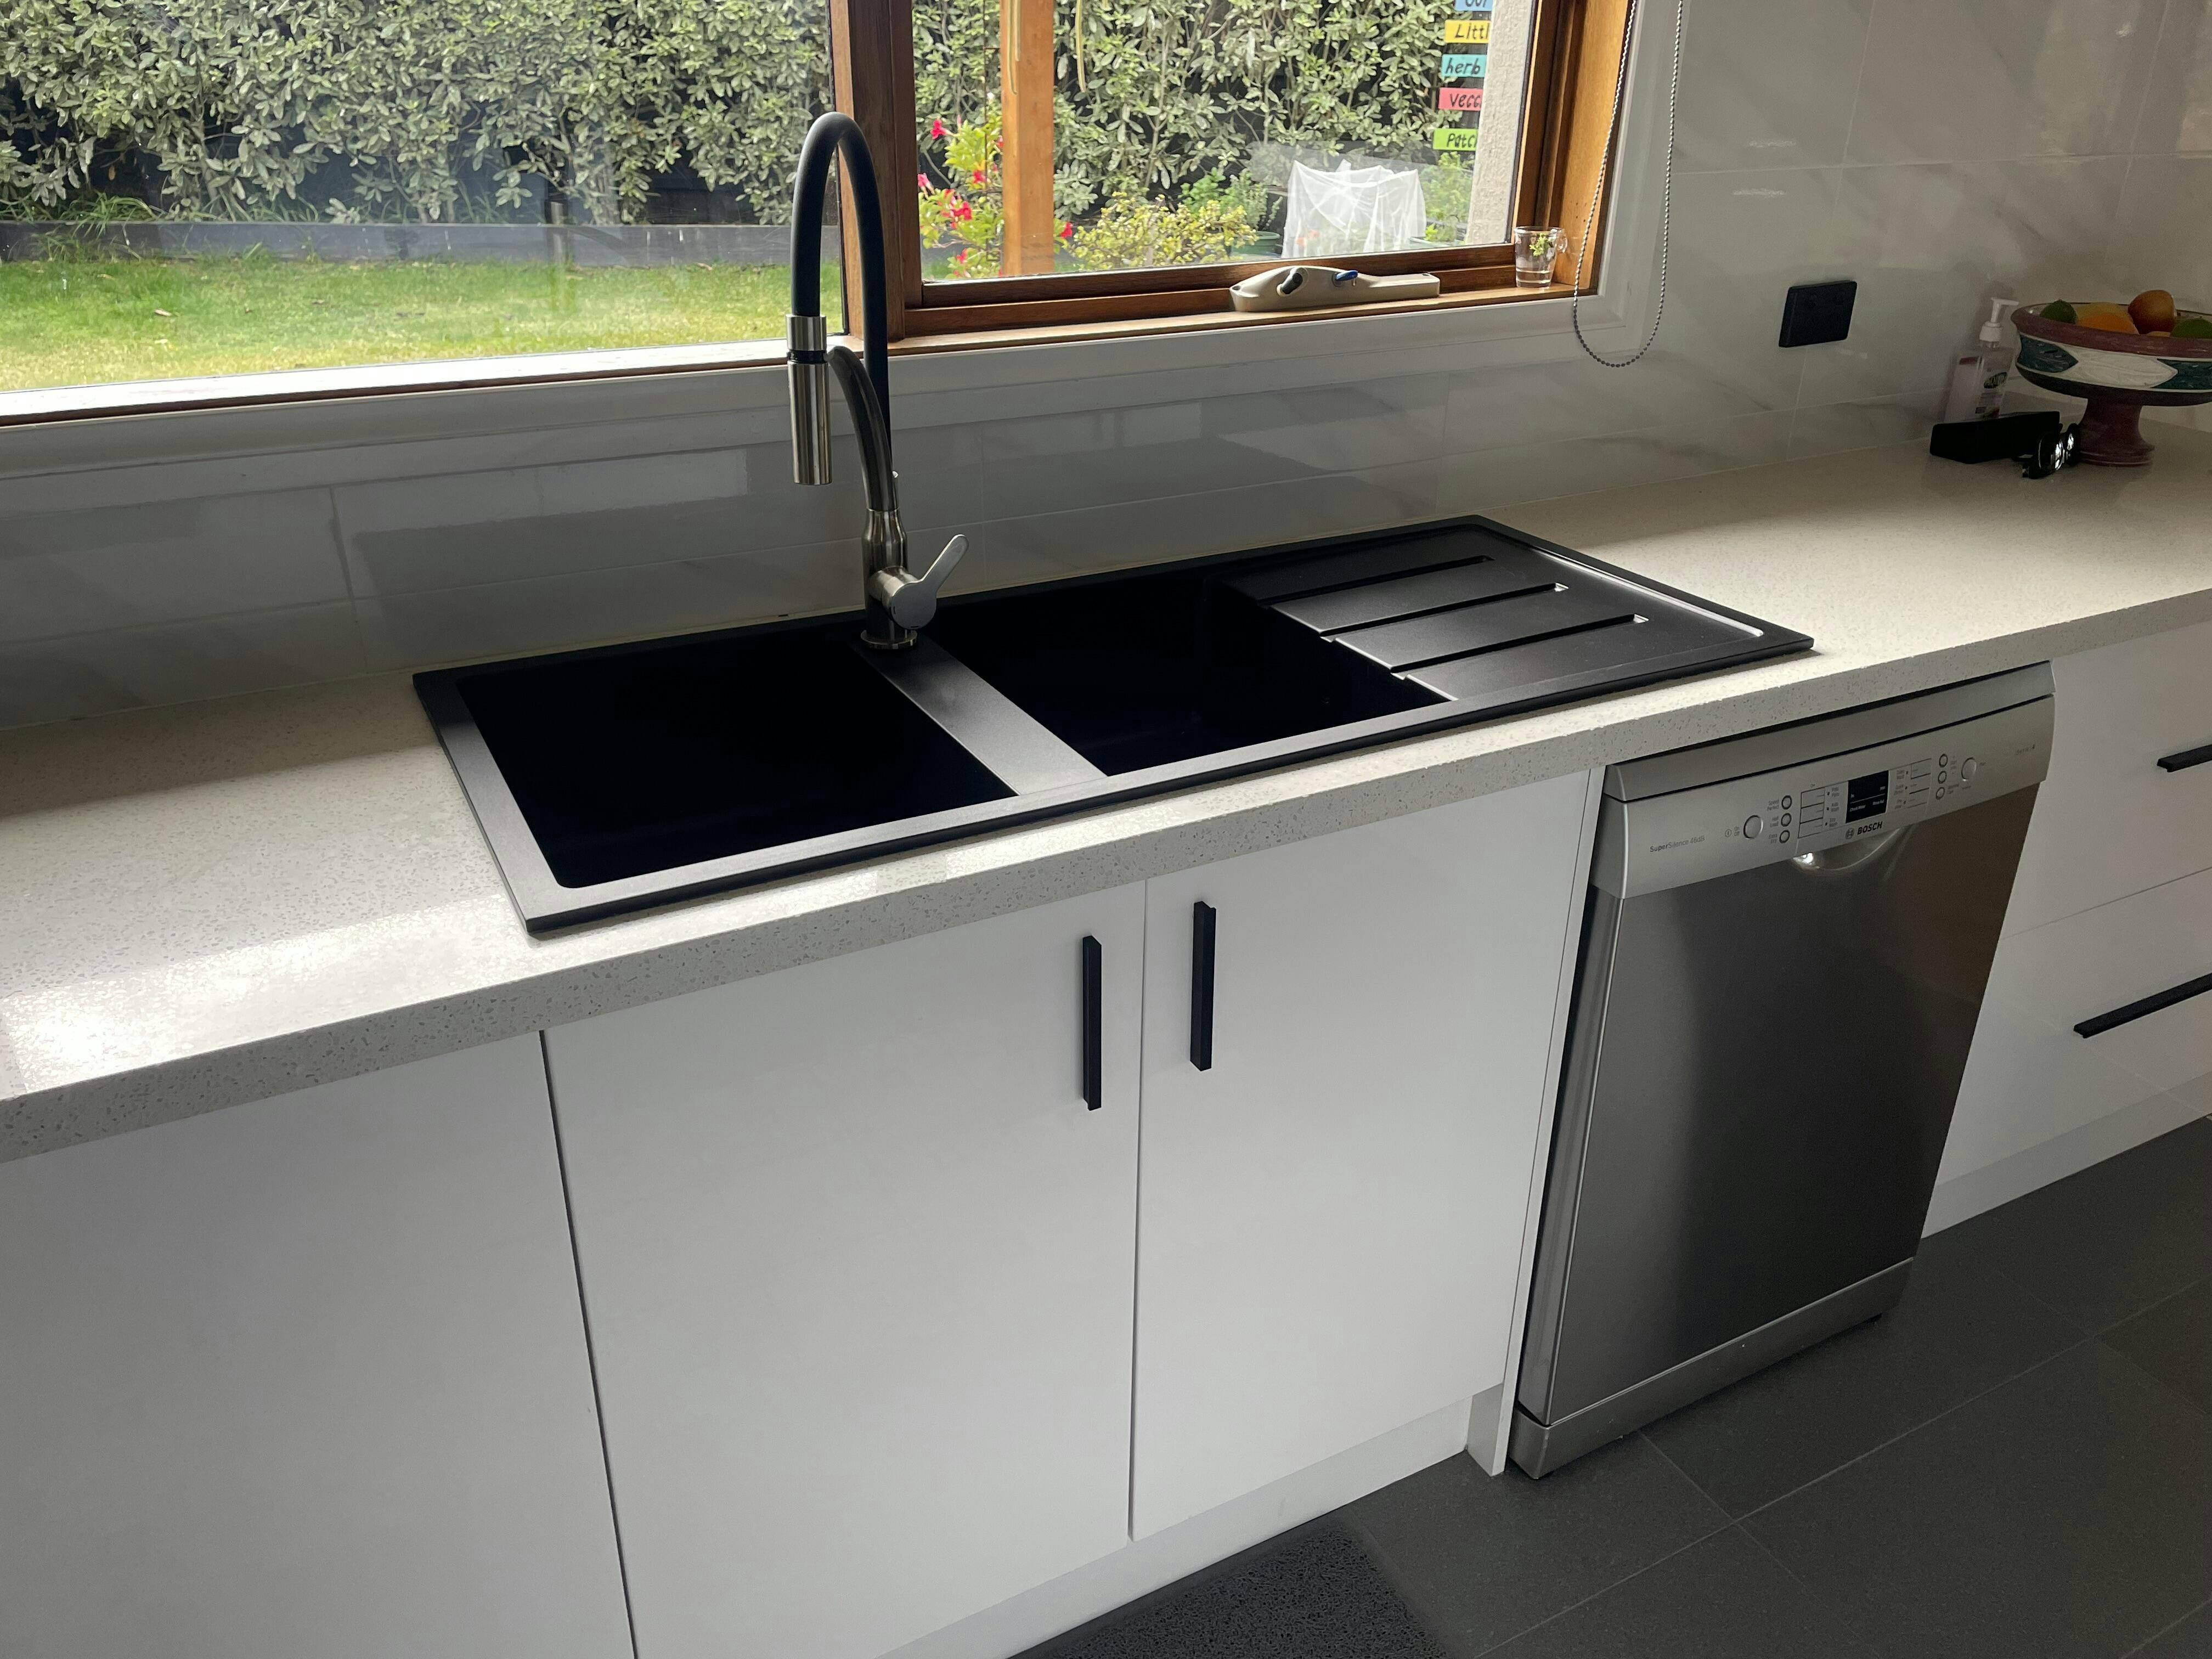
Choosing the Best Sinks for Your Kitchen
Over here at Buildmat, we pride ourselves on only supplying high-quality materials for your Online Kitchen sinks.

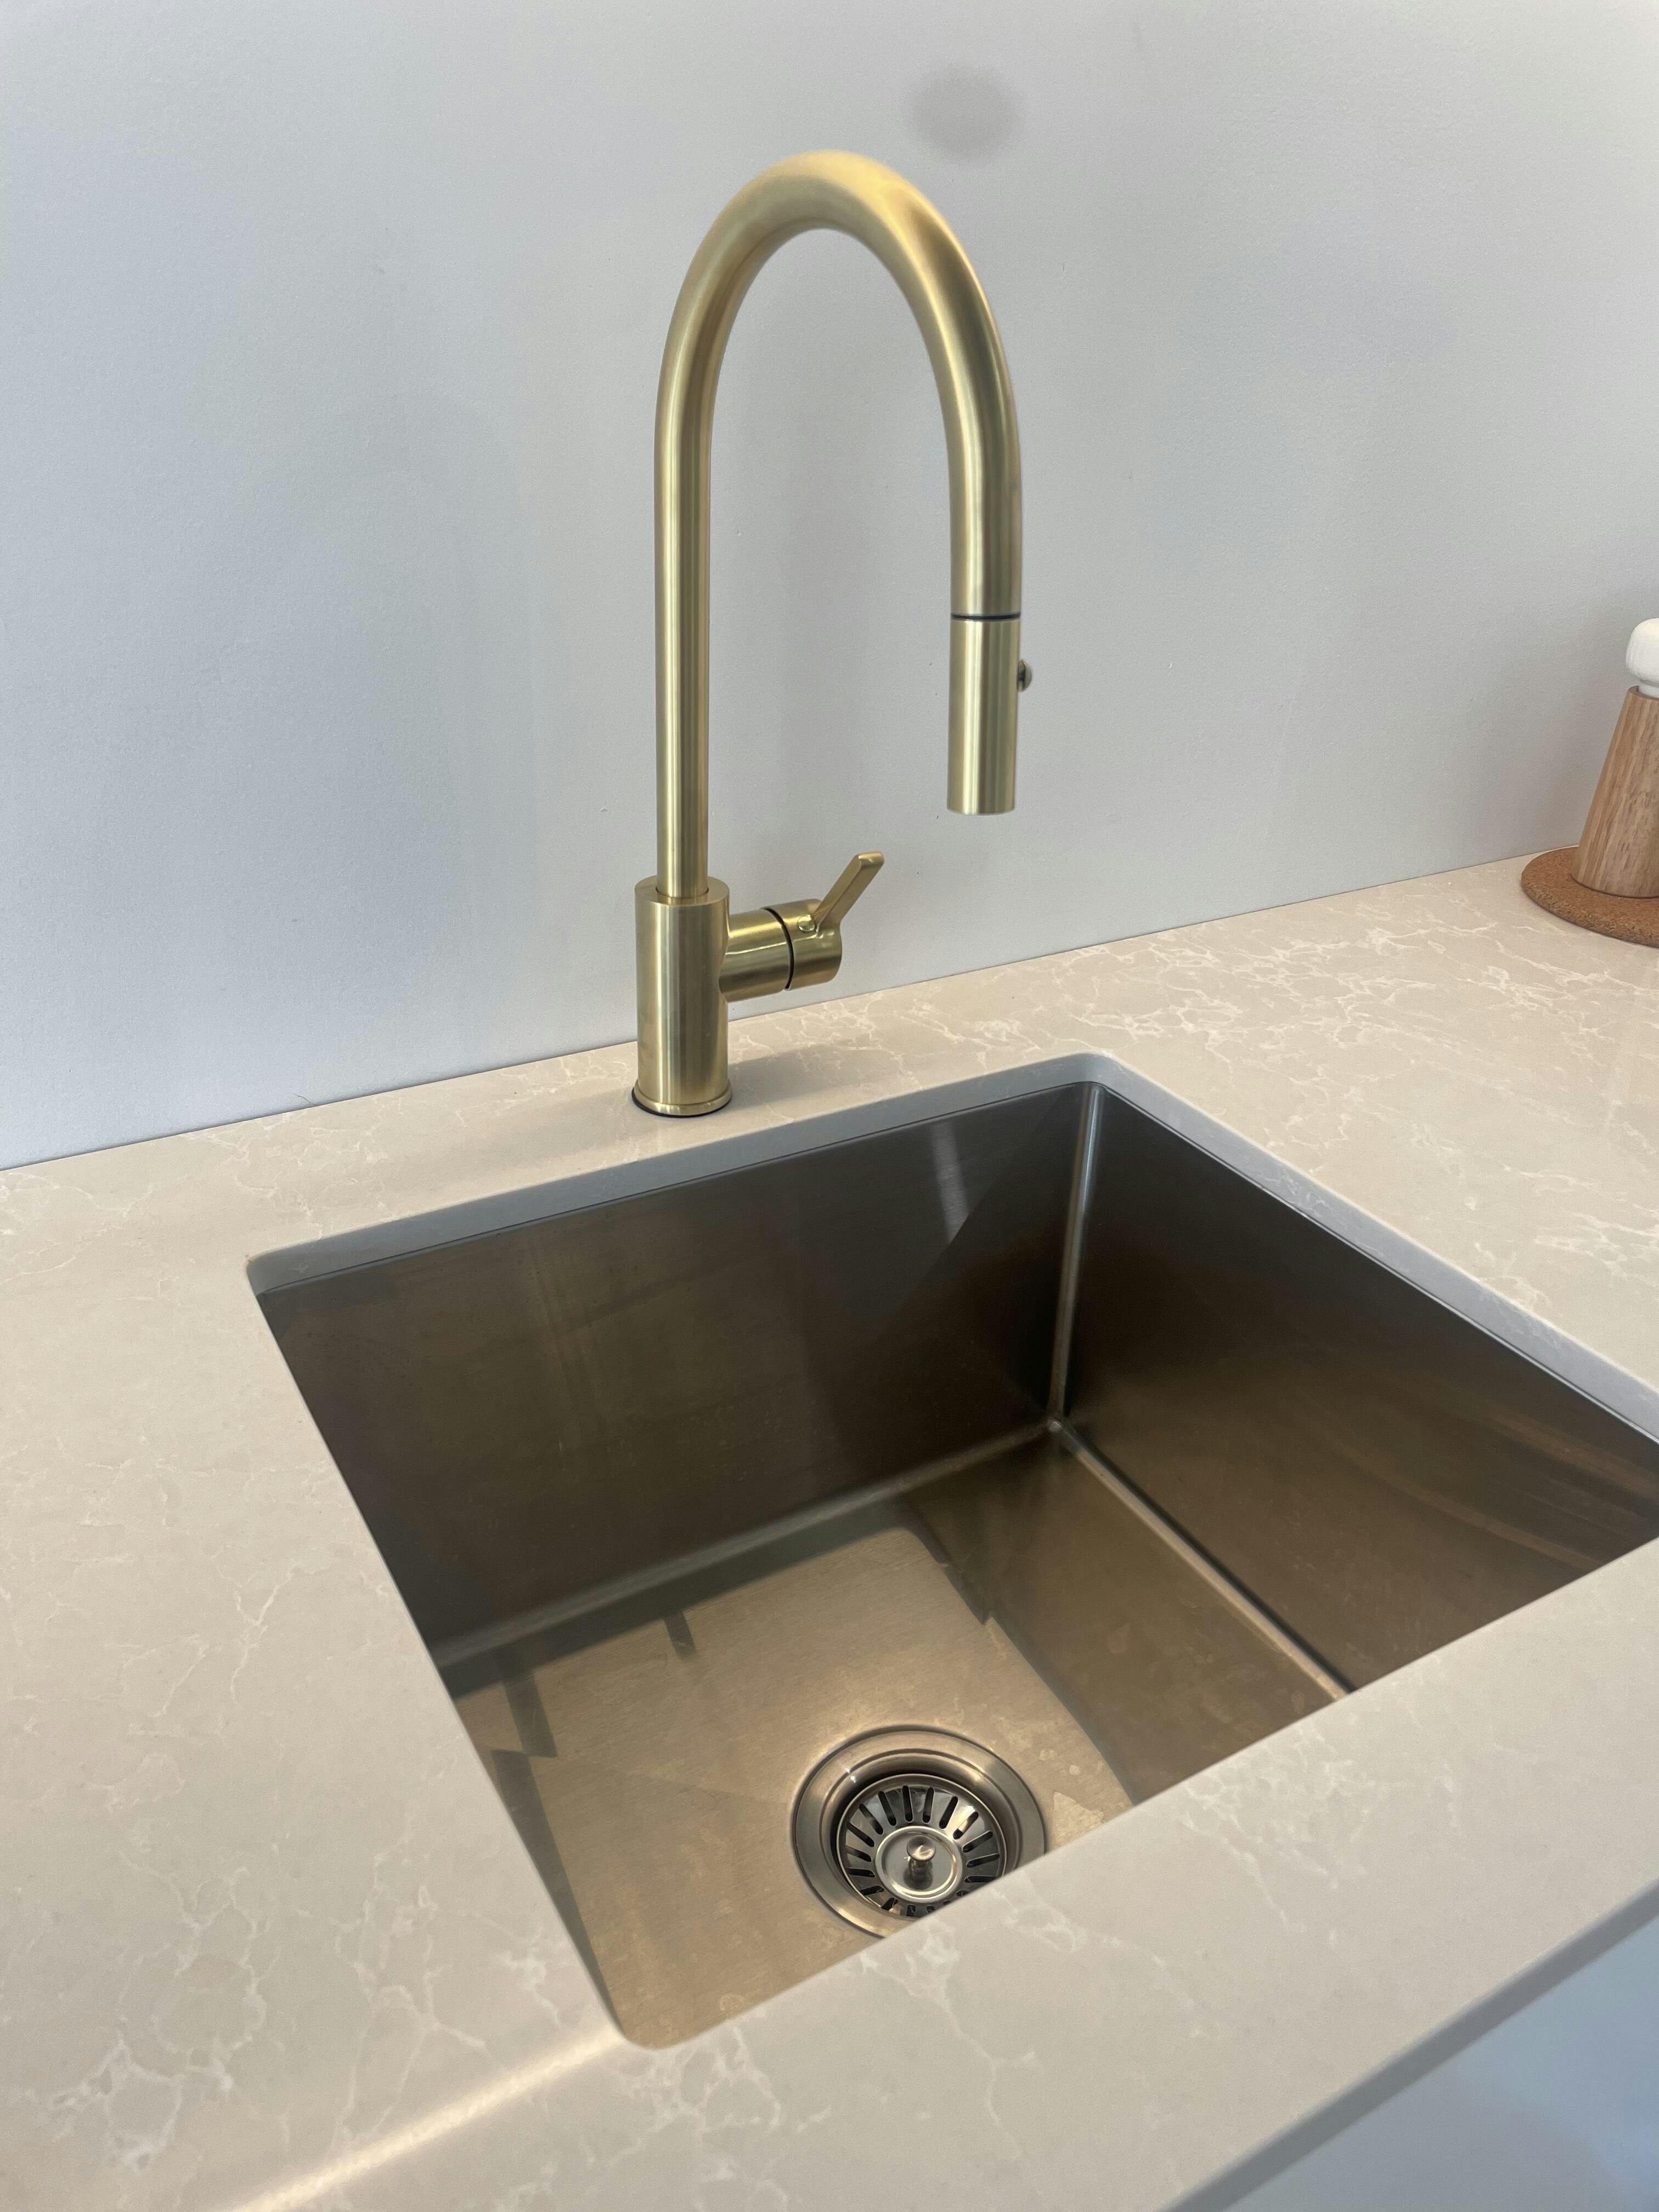
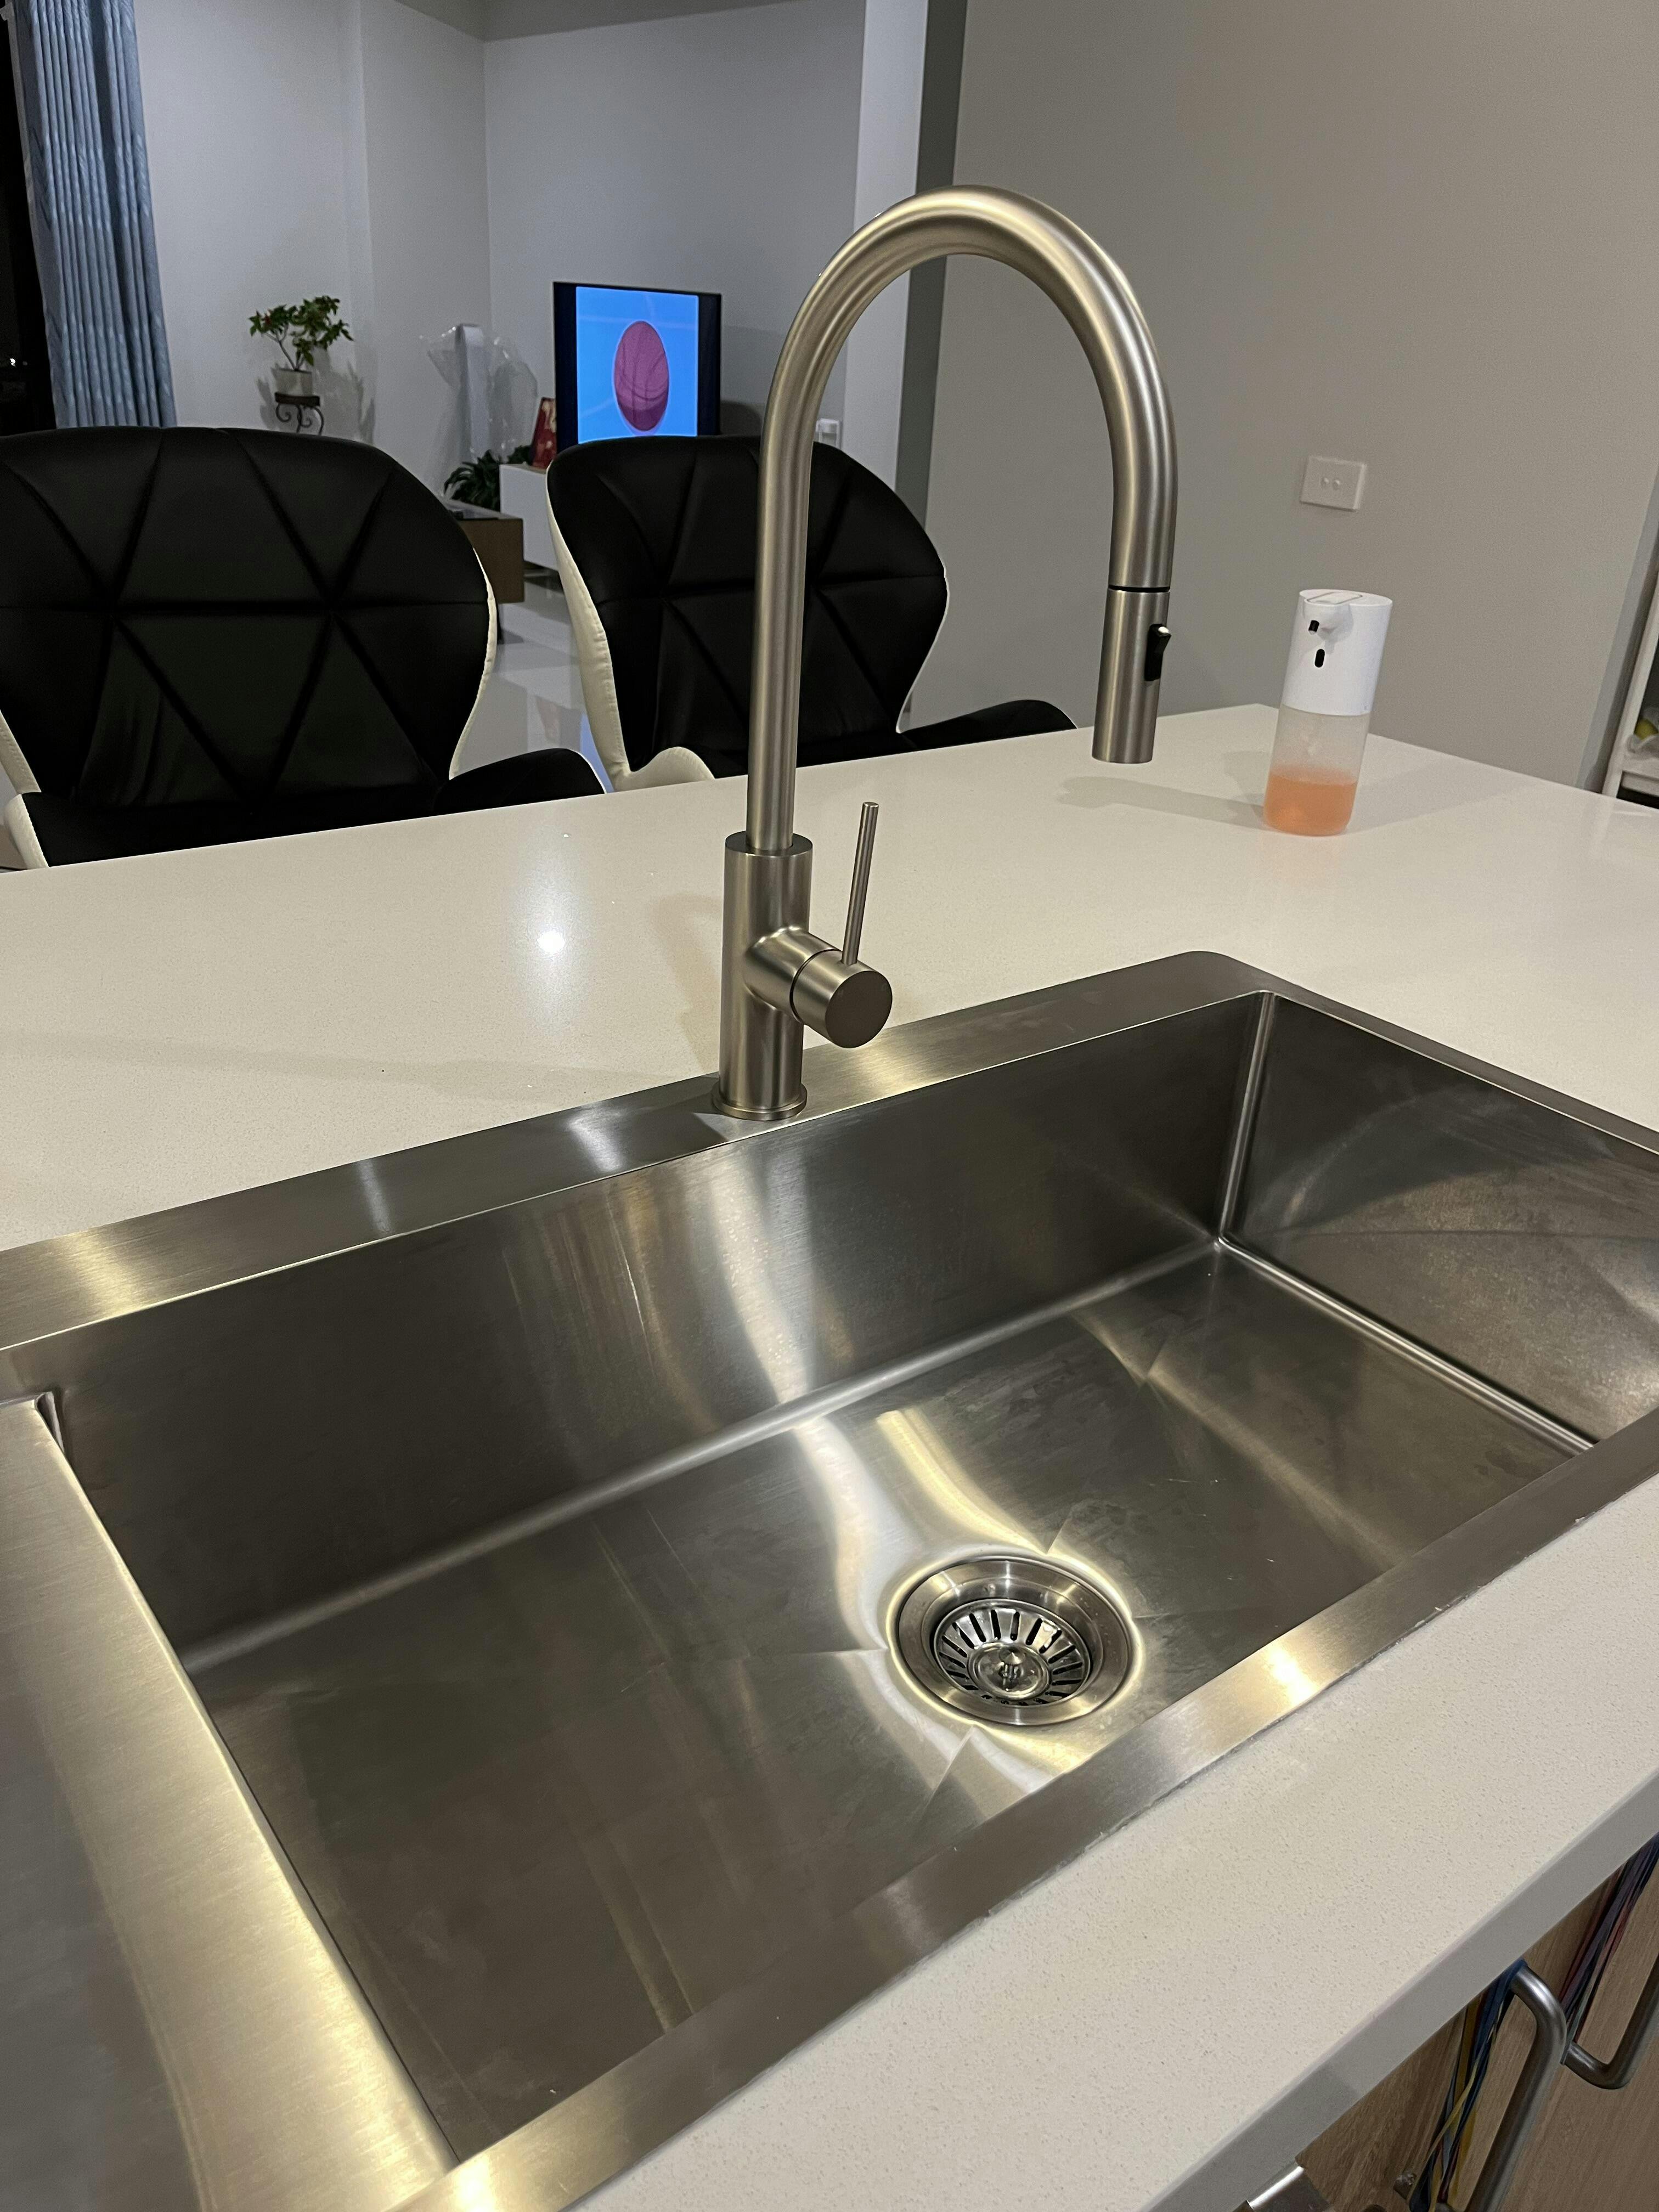
Shop Stainless Steel Kitchen Sinks
Browse our range of stainless steel kitchen sinks.
From ahigh-quality quartz stone kitchen sink to agrade-304 stainless steel kitchen sink, we’ve got your kitchen design needs covered.
Our products come with a 25-year warranty as well as being 100% locally owned and operated. Our products are also quality-tested extensively according to ISO9001 standards.
Further Information
To learn more about home appliances, head over to our blog where we have guides and how-tos for builders and homeowners.
To get in touch with us, call us at 1300-123-122 or contact us via e-mail over here.
Related Posts